


집에 굴러다니는 오래된 모델인 갤럭시윈(그리고, 갤럭시S3, LG 옵티머스 GK)에 Linux Deploy 로 리눅스 설치 한번 해 보려고 루팅을 해 보았습니다.
인터넷에 루팅앱을 검색해 보니 TowelRoot 와 KingoRoot 등이 있더군요~
towelroot.com 에서 받은 앱은 설치까지는 성공했지만 제가 가지고 있는 모델로는 루팅까지는 안되네요~
다음으로 시도해본 kingoapp.com 에서 다운로드 받은 앱으로 시도하였습니다.
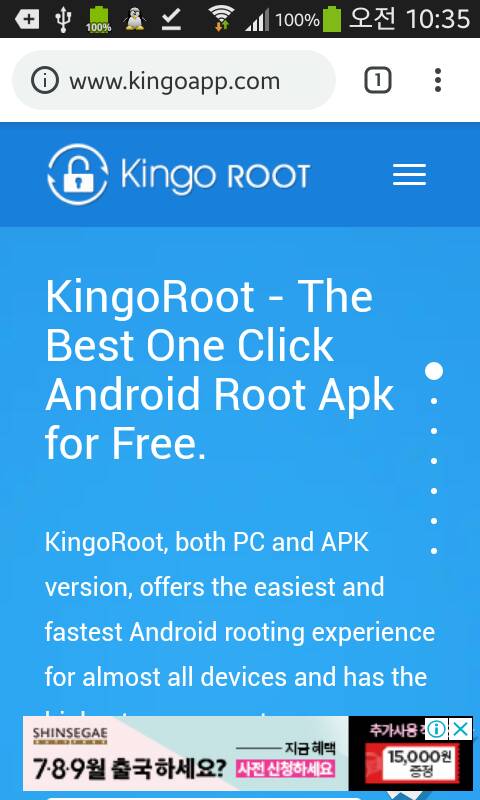
www.kingoapp.com 에서 안드로이드용 KingoRoot.apk 를 다운로드합니다.
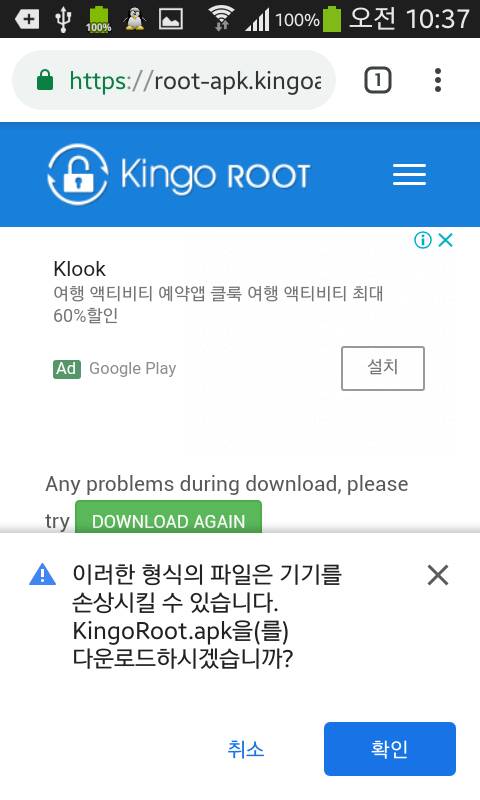
다운로드 받은 앱을 실행합니다.
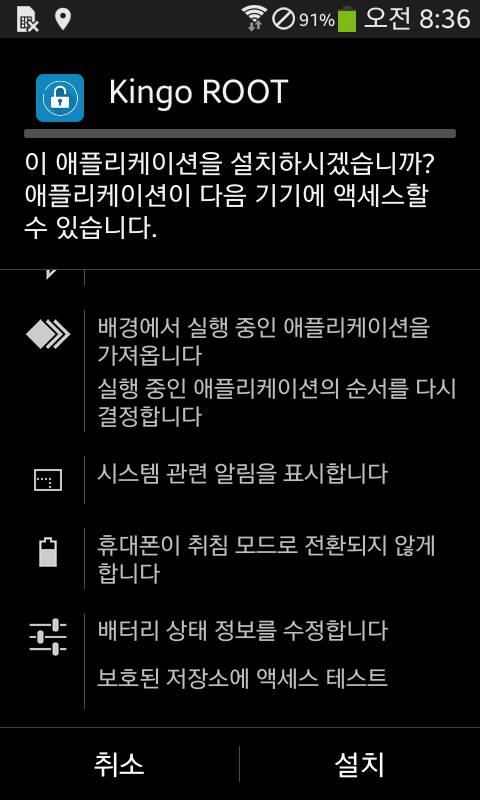
설치를 하다보면 Play 프로텍트에 의해 차단됨 메시지 창이 뜨는데 세부정보를 눌러서 계속 설치(안전하지 않음)을 누르면 됩니다.

그냥 확인 눌렀다면 다음부터는 더 이상 설치가 되지 않습니다.
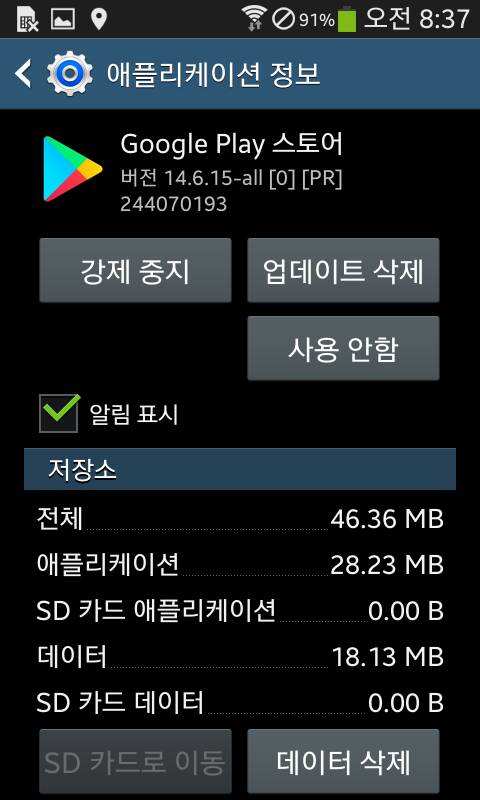
다시 설치하려면 애플리케이션 관리에서 "Google Play 스토어" 앱의 데이터를 삭제하고 다시 진행하면 됩니다.
앱을 설치하였다면 실행합니다.
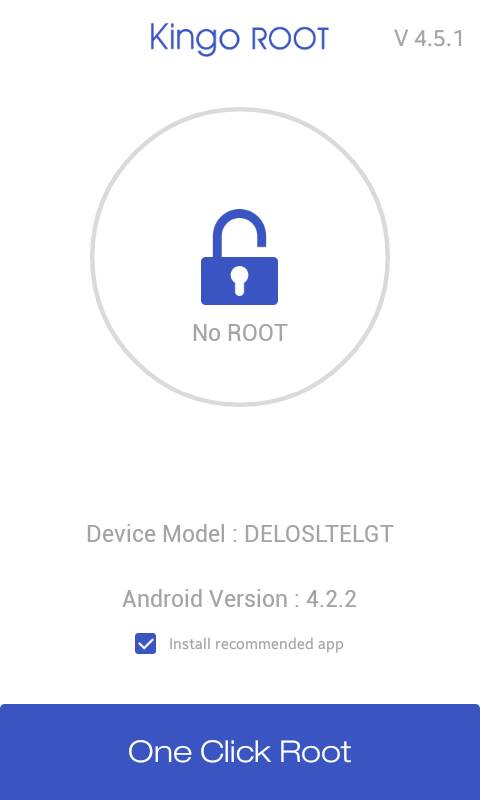
일부 모델은 위 화면에서 One Clink Root 를 실행하면 안드로이드 앱 만으로도 루팅이 됩니다.
"ROOT FAILED" 가 메시지가 나오면서 실패했다면 아래의 PC 버전으로 루팅하는 방법을 이용합니다.
아래는 PC와 연결해서 루팅하는 방법입니다.
앱을 실행한 상태에서 이제 윈도우용 Kingo Root 프로그램을 다운로드 받아서 설치합니다.
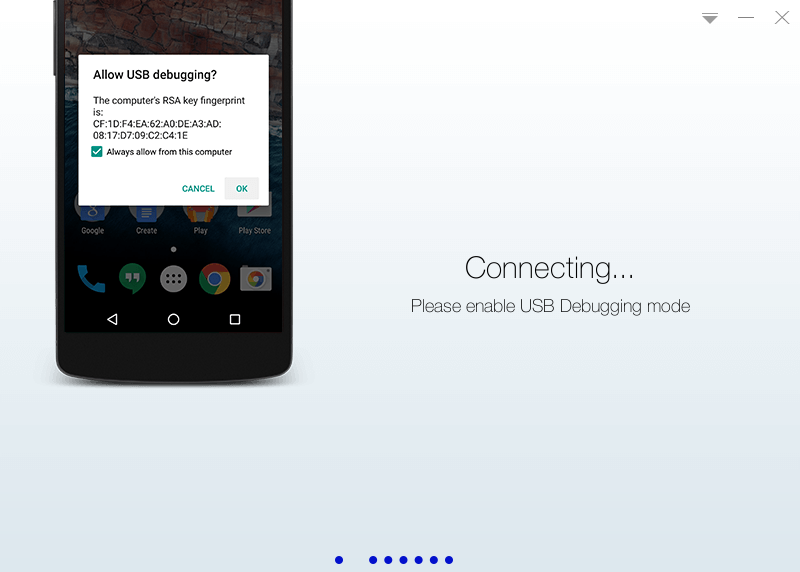
미리 폰에서 USB Debugging 을 허용한 상태여야 합니다.
단말기와 PC 를 USB 케이블로 연결하고 프로그램을 실행합니다.

조금 지나면 폰에서 자동으로 Kingo Link 앱을 설치 시도가 됩니다.
세부정보를 눌러서 계속 설치를 합니다.
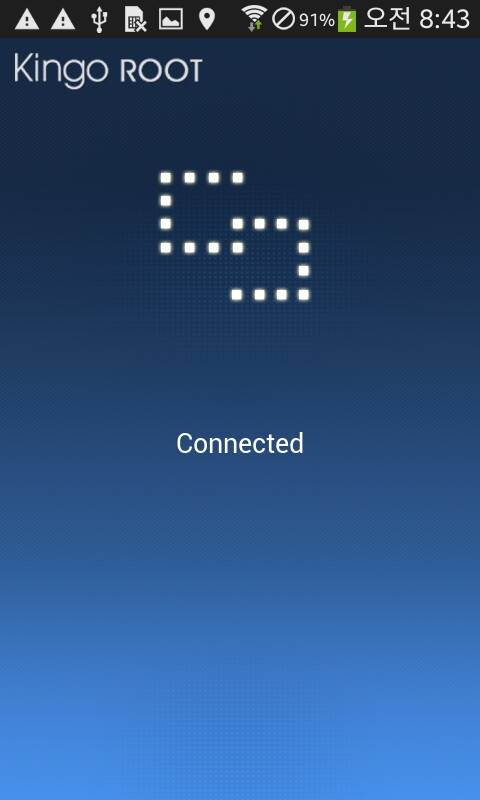
연결이 된 상태입니다.
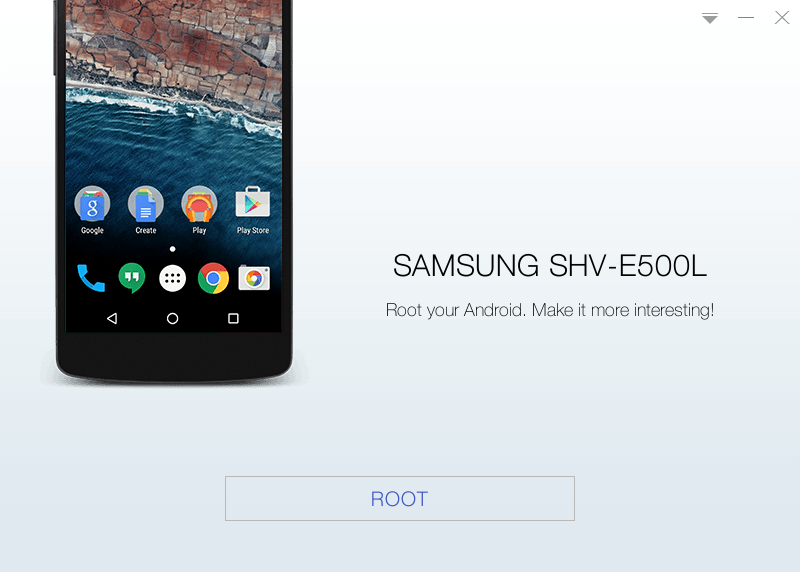
ROOT 를 눌르면 됩니다.
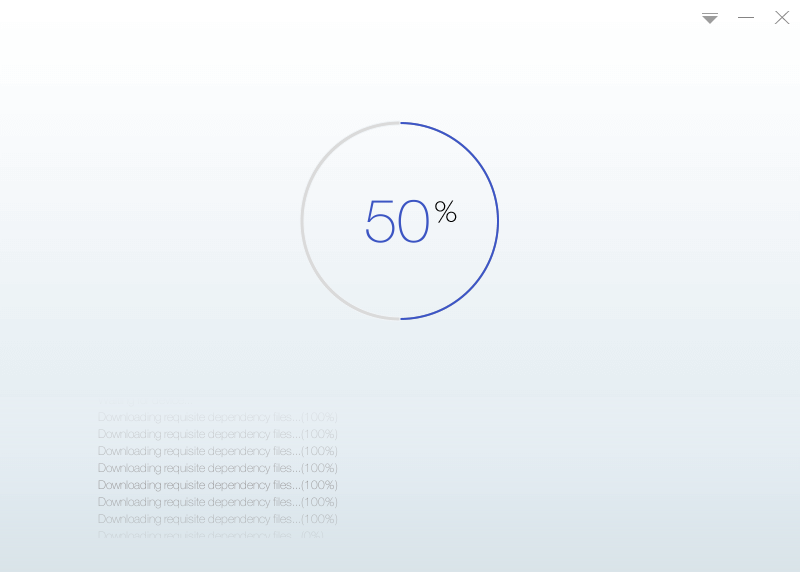
몇 분이 지나면 루팅이 완료가 됩니다.
PC 에서 위 화면이 뜨고 난 뒤에 폰을 보면 아래와 같은 상태인데 One Clink Root 를 실행하면 됩니다.

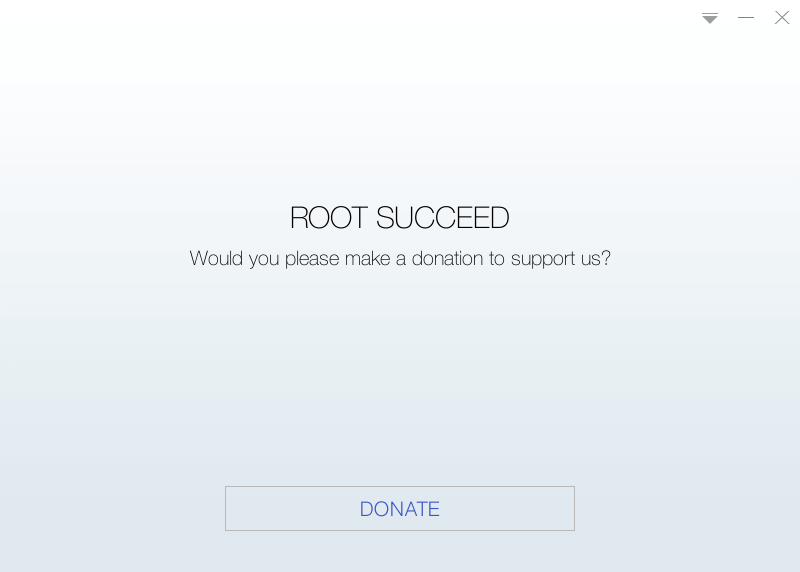
ROOT SUCCEEDED 메시지가 뜨면 루팅이 완료된 상태입니다.

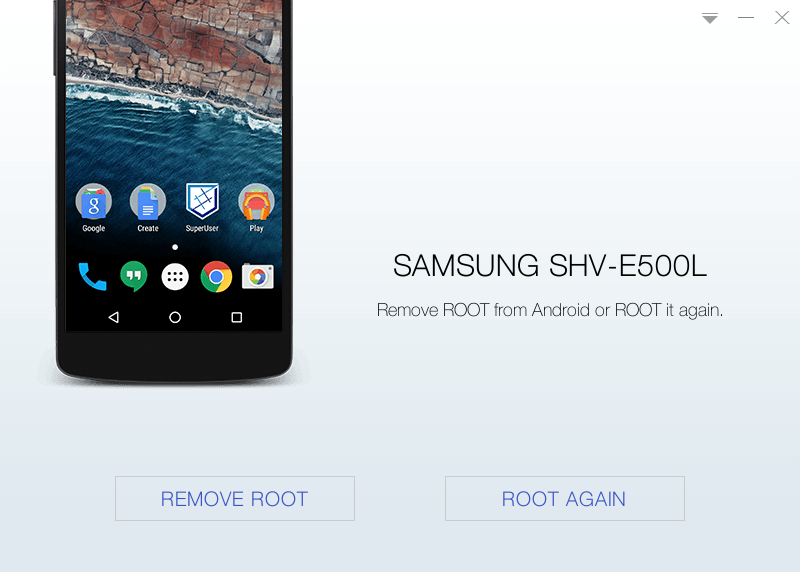
루팅이 된 상태에서 PC 의 KingoROOT 프로그램을 다시 실행하면 REMOVE ROOT 와 ROOT AGAIN 메뉴가 나타납니다.
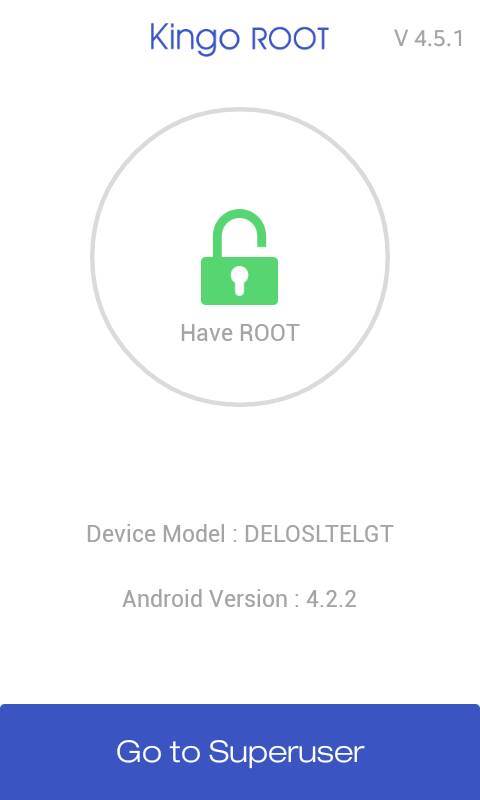
그리고 폰에서는 아래와 같은 화면이 보입니다.
루팅이 생각 보다 쉽게 되는군요~
'안드로이드' 카테고리의 다른 글
| [안드로이드] Linux Deploy CentOS 설치 (1) | 2019.05.08 |
|---|---|
| [안드로이드] Play 프로텍트에 의해 차단됨 해결 방법 (0) | 2019.05.08 |
| [안드로이드] AsyncTask 파일 다운로드 예제 (0) | 2019.04.24 |
| [안드로이드] Android Studio resource linking failed (0) | 2019.04.10 |
| [안드로이드] Android 8.1 SDK 27 FCM PUSH 알림 문제 (0) | 2019.03.20 |

영은파더♥
가상서버호스팅 VPS 리눅스 서버관리 윈도우 IT
![[안드로이드] FCM PHP 서버 PUSH](https://t1.daumcdn.net/cfile/tistory/9918513E5C81FEF31F)
![[안드로이드] Android Studio gradle 에러](https://t1.daumcdn.net/cfile/tistory/9978893D5C74A0292A)
